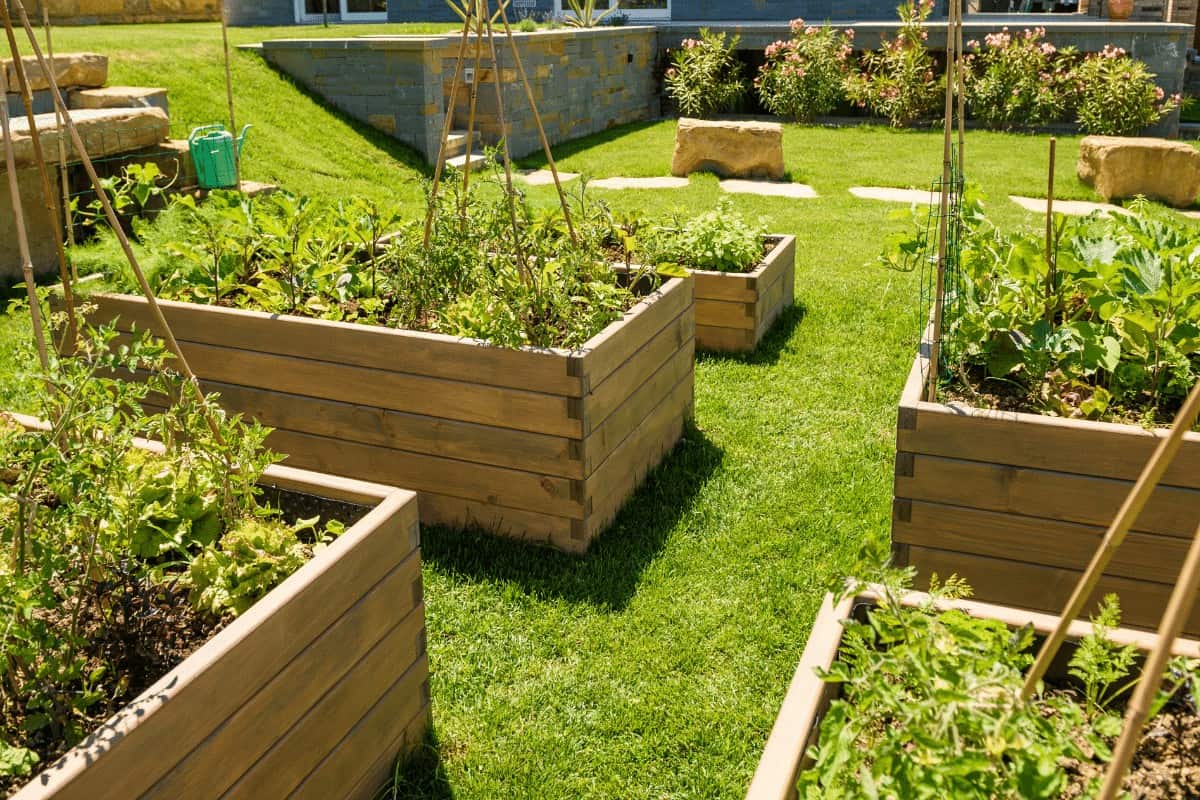
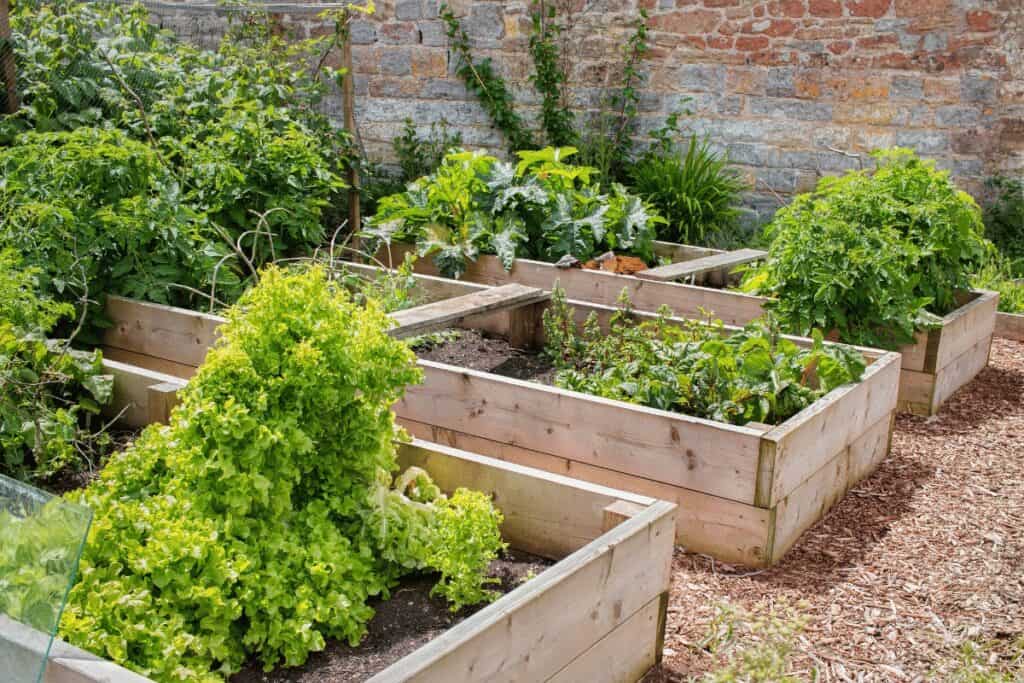
How easy is it to build your own garden bed? Well, You can use recycled materials or purchase a kit that will make the process even easier. Follow these simple steps and you’ll be on your way to enjoying homegrown vegetables and fruits in no time!
Here Are Some Simple Steps to Follow
1. Choose a location for your garden bed. Make sure it is in an area that gets plenty of sunlight and has good drainage.
2. If you are using recycled materials, clean them off and remove any nails or sharp objects.
3. If you are using new lumber, cut it to size according to your chosen location.
4. Nail the boards together to form your garden bed. You can use screws for extra stability.
5. Fill your garden bed with soil and any other amendments you need.
6. Plant your seeds or starts and water them well.
7. Enjoy your homegrown vegetables and fruits!
What You’ll Need to Create a Garden Bed
Many people these days find themselves with a lot of free time on their hands. This is largely because there are many more ways for people to be productive than in the past. For instance, it’s possible to be productive at any hour of the day thanks to advances in technology.
As a result, people often find that they have some extra time on their hands that they’d like to fill with something productive. One great way to do this is by starting a garden. Gardening can be a very rewarding experience, as it allows you to grow your own food and enjoy the fruits (and vegetables) of your labor.
If you’re interested in starting a garden, one of the first things you’ll need to do is create a garden bed. Garden beds can be created using a variety of materials, but the most common material is wood. Wood is an excellent choice for a number of reasons. First, it’s relatively inexpensive. Second, it’s easy to work with. Third, it will last for many years if it’s properly cared for.
If you decide to use wood to create your garden bed, there are a few things you’ll need to keep in mind. First, you’ll need to choose the right type of wood. The two most common types of wood used for garden beds are cedar and pressure-treated lumber. Cedar is a good choice because it’s rot-resistant and insect-resistant. Pressure-treated lumber is also a good choice, as it’s treated with chemicals that help protect it from rot and insects.
Second, you’ll need to choose the right size of lumber. The most common sizes are 2x4s and 2x6s. However, you can also find 1x4s and 1x6s. The size you choose will depend on a number of factors, including the size of your garden and the type of plants you’d like to grow.
Third, you’ll need to choose the right style of lumber. The two most common styles are boards and timbers. Boards are the simplest option, as they’re just pieces of lumber that have been cut to size. Timbers are larger pieces of lumber that have been cut into logs. They’re more expensive than boards, but they’re also more durable.
Fourth, you’ll need to choose the right finish for your lumber. The two most common finishes are stain and paint. Stain is a good choice if you want the natural color of the wood to show through. Paint is a good choice if you want to add some color to your garden bed.
Once you’ve chosen the right type, size, style, and finish for your lumber, you’re ready to start building your garden bed. The first step is to mark out the area where you’d like your garden bed to go. Once you’ve done that, you can start assembling your lumber.
If you’re using boards, you can simply nail them together. If you’re using timbers, you’ll need to use screws or bolts to hold them together. Once your lumber is assembled, you can add soil and mulch to your garden bed. Then, you’re ready to start planting!
As you can see, building a garden bed is a relatively simple process. However, it’s important to take your time and do it right. By following these steps, you can be sure that your garden bed will last for many years.
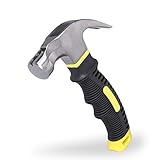
Stubby Claw Hammer with Magnetic Nail Starter
About this item
- Drop forged and heated treated alloy steel head provides maximum striking strength
- Sharpened and curved claw ends generates maximum nail-pulling leverage
- Finely polished finish with rust-preventative clear coating insures durability and longevity
- Built-in magnetic nail holder for easy start with one-handed operation
- Ergonomically designed anti-vibration handle offers extra comfort and non-slip gripping
Power Pro 48598 Wood Screws

9 x 2-1/4″, Premium Outdoor Deck Screws, Rust Resistant, Epoxy Coated Bronze, 1lb Box, 113 pcs
- ENGINEERED FOR THE OUTDOORS: Ideal for decking and any outdoor wood project
- BEST-IN-CLASS CORROSION PROTECTION: Bronze epoxy coating offers superior rust and corrosion protection
- SELF-STARTING TIP: Offers 20 percent faster engagement into the wood; no splitting
- UNIQUE STAR DRIVE TECHNOLOGY: T25 Drive size virtually eliminates cam-out for a smooth effortless drive every time
- 1lb Box contains approximately 113 pieces; this assortment is sold by weight and the actual piece count may vary.
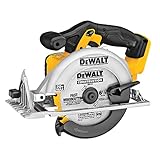
DEWALT 6-1/2-Inch 20V MAX Circular Saw,
About this item
- 5150 RPM motor of DEWALT circular saw delivers power and speed to make the most demanding cuts with ease
- High strength and lightweight magnesium shoe of the corded circular saw provides jobsite durability for long-term cut accuracy
- The optimized rubber overmolded comfort grip of the compact circular saw delivers optimal balance and control
- 0-50 degree bevel capacity allows for aggressive bevel cuts for a multitude of applications
- 6-1/2-inch carbide-tipped blade for cutting 2 times material at 90 degrees and 45 degrees and more cuts per charge
1. Choose the Right Type of Wood
When choosing the type of wood for your garden bed, you’ll need to consider a few things. First, you’ll need to decide what type of wood you want. The two most common types of wood are cedar and pressure-treated lumber. Cedar is a good choice because it’s rot-resistant and insect-resistant. Pressure-treated lumber is also a good choice, as it’s treated with chemicals that help protect it from rot and insects.
Once you’ve decided on the type of wood you want, you’ll need to choose the right size. The most common sizes are 2x4s and 2x6s. However, you can also find 1x4s and 1x6s. The size you choose will depend on a number of factors, including the size of your garden and the type of plants you’d like to grow.
2. Choose the Right Size of Lumber
When choosing the size of lumber for your garden bed, you’ll need to consider a few factors. First, you’ll need to decide what size garden bed you want. The most common sizes are 4×4, 4×8, and 6×6. However, you can also find smaller and larger sizes if you need them. The size you choose will depend on the amount of space you have in your yard and the type of plants you want to grow.
Second, you’ll need to decide what type of plants you want to grow in your garden bed. If you’re planning on growing vegetables, you’ll need to make sure the bed is at least 8 inches deep. However, if you’re only planning on growing flowers, you can get away with a shallower depth.
Third, you’ll need to consider the weight of the lumber. If you’re planning on using heavier lumber, like 6x6s, you might want to use stakes to secure the bed in place. Fourth, you’ll need to decide on the finish for your lumber. The two most common finishes are stain and paint. Stain is a good choice if you want the natural color of the wood to show through. Paint is a good choice if you want to add some color to your garden bed.
3. Choose the Right Finish for Your Lumber
When choosing the finish for your lumber, you’ll need to consider a few things. First, you’ll need to decide what type of finish you want. The two most common finishes are stain and paint. Stain is a good choice if you want the natural color of the wood to show through. Paint is a good choice if you want to add some color to your garden bed.
Second, you’ll need to decide on the color of the finish. If you choose to stain, you can usually find it in a variety of colors, including clear, redwood, and cedar. If you choose to paint, you can find it in almost any color imaginable.
4. Mark out The Area Where You’d Like Your Garden Bed to Go
Once you’ve decided on the size and type of wood you want for your garden bed, you’ll need to mark out the area where you want it to go. To do this, use a tape measure or a rope to measure the length and width of the bed. Then, use a stake or a piece of chalk to mark out the corners of the bed.
Now that you’ve marked out the area, it’s time to start assembling your lumber. If you’re using 2x4s or 2x6s, you’ll need to cut them to size. To do this, use a saw or a power drill with a saw attachment. If you’re using 1x4s or 1x6s, you can skip this step.
Once you’ve cut your lumber to size, it’s time to start assembling the bed. To do this, you’ll need to use screws, nails, or brackets. The type of fastener you use will depend on the type of wood you’re using. For example, if you’re using cedar, you can use screws. If you’re using pressure-treated lumber, you can use nails or brackets.
Start by attaching the sides of the bed to the ends. Then, attach the front and back of the bed to the sides. If you’re using screws, make sure to countersink them so they’re flush with the surface of the wood. Once all of the boards are attached, your garden bed is ready to use!
If you want to add some extra protection to your garden bed, you can cover it with a tarp or a piece of plywood. This will help to keep the bed from warping or rotting.
Now that you’ve built your own garden bed, you can start planting! Be sure to choose the right plants for your climate and soil type. With a little care, you’ll be able to enjoy fresh fruits and vegetables all season long!
Building your own garden bed is a great way to get started in gardening. By following these simple steps, you can have your own bed up and running in no time!
5. Assemble Your Lumber
To assemble your lumber, you’ll need to use screws, nails, or brackets. The type of fastener you use will depend on the type of wood you’re using. For example, if you’re using cedar, you can use screws. If you’re using pressure-treated lumber, you can use nails or brackets.
Start by attaching the sides of the bed to the ends. Then, attach the front and back of the bed to the sides. If you’re using screws, make sure to countersink them so they’re flush with the surface of the wood. Once all of the boards are attached, your garden bed is ready to use!
If you want to add some extra protection to your garden bed, you can cover it with a tarp or a piece of plywood. This will help to keep the bed from warping or rotting.
Now that you’ve built your own garden bed, you can start planting! Be sure to choose the right plants for your climate and soil type. With a little care, you’ll be able to enjoy fresh fruits and vegetables all season long!
Building your own garden bed is a great way to get started in gardening. By following these simple steps, you can have your own bed up and running in no time!
6. Add Soil and Mulch to Your Garden Bed
Adding soil and mulch to your garden bed is a great way to keep your plants healthy and happy. Soil provides your plants with the nutrients they need to grow, and mulch keeps the soil moist and prevents weeds from growing.
To add soil to your garden bed, start by removing the top layer of soil. Then, add a layer of compost or topsoil. Once you’ve added the soil, use a rake to level it out.
Next, add a layer of mulch. Mulch is available in a variety of materials, such as bark chips, straw, and leaves. Be sure to choose a material that’s appropriate for your climate and plants.
Finally, water your bed thoroughly. Be sure to water the soil, not the leaves of the plants. Watering the leaves can cause disease.
By adding soil and mulch to your garden bed, you’ll be on your way to a healthy and beautiful garden!
Construction Plans (Free)
Conclusion
By following these simple steps, you can build your own garden bed and enjoy fresh fruits and vegetables all season long! Building your own garden bed is a great way to get started in gardening. By following these simple steps, you can have your own bed up and running in no time! Happy Gardening for many years to come.
Latest Posts
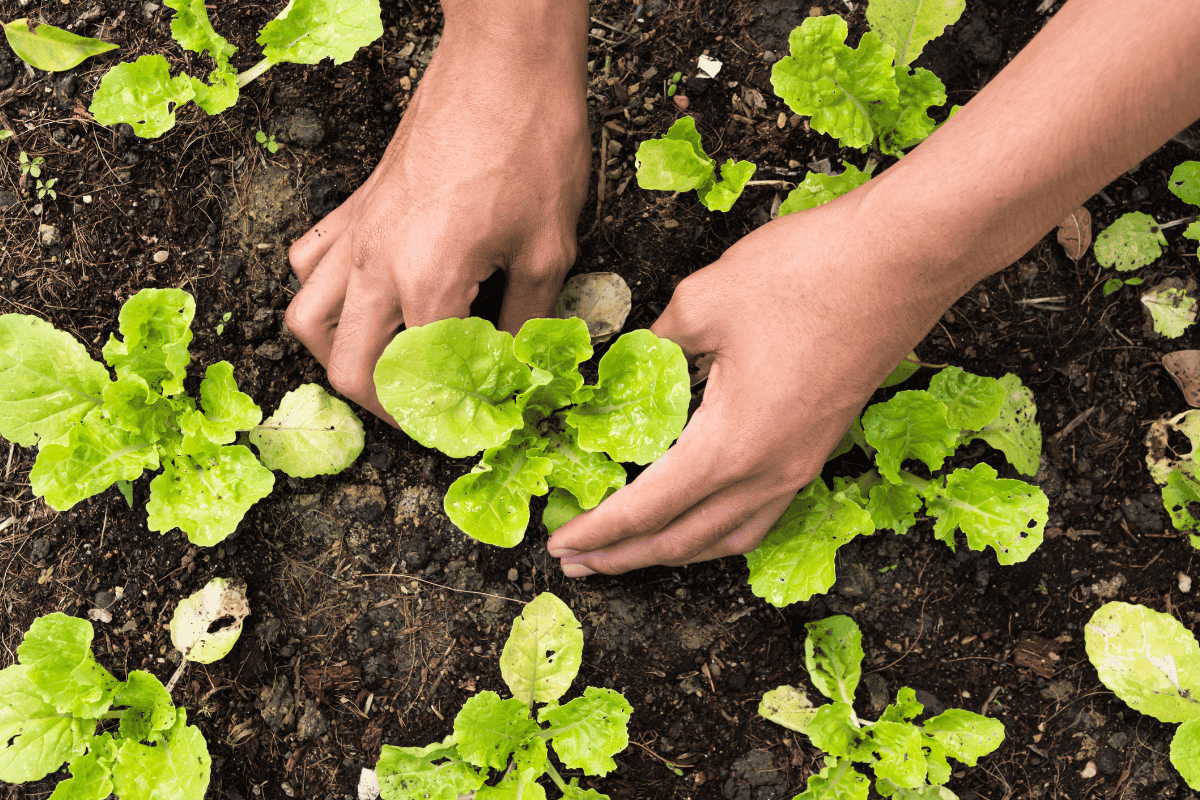
- What Types of Lettuces Can You Grow?

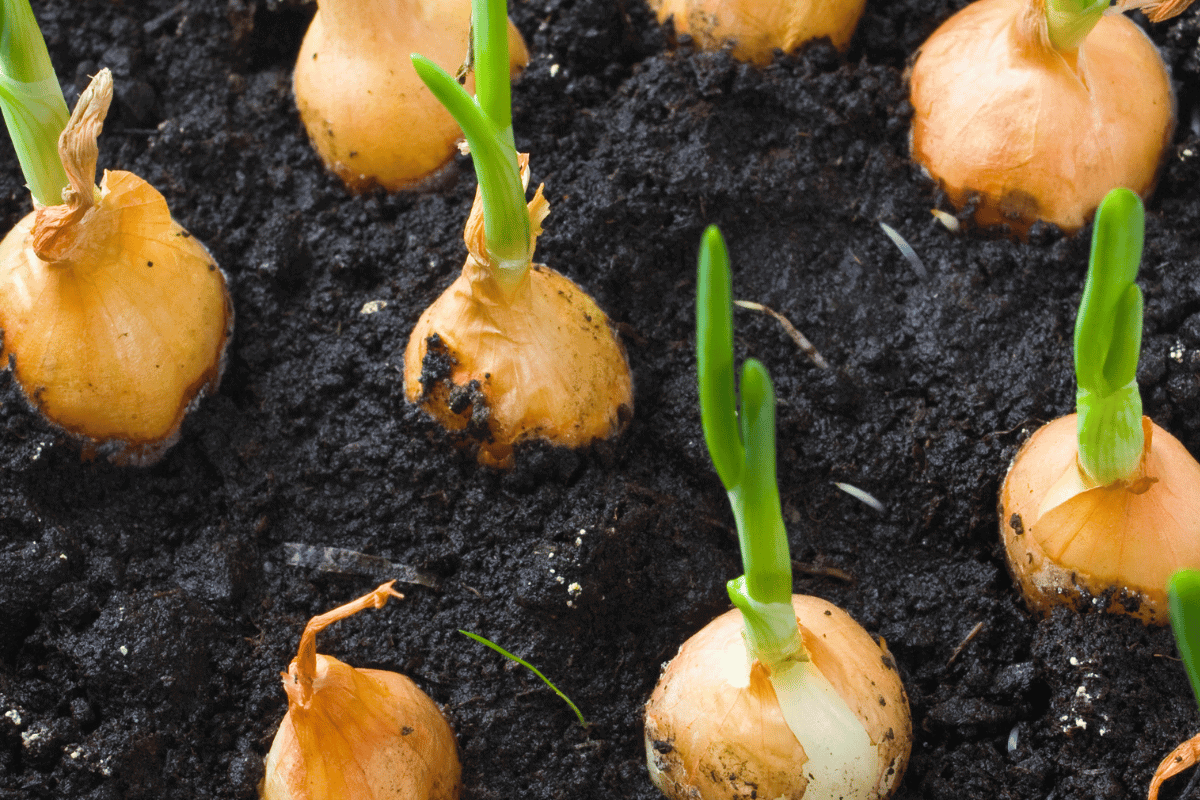
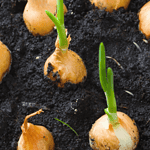
- How to Plant Onion Seeds for Maximum Germination
- How to Plant Parsnip Seeds for Maximum Germination

- How to Plant Mushroom Seeds for Maximum Germination
- How to Plant Lettuce Seeds for Maximum Germination

- How to Plant Kale Seeds: A Step-by-Step Guide to Maximum Germination Success!